Introduction: Tips to Wearing Long-Lasting Red Lipstick
Red lipstick is a timeless beauty staple that exudes confidence and elegance. While it can be a daunting shade for some, with the right techniques and a bit of practice, anyone can master the art of applying red lipstick. In this guide, we’ll take you through five essential steps to achieve a flawless and long-lasting red lip. From prepping your lips to choosing the perfect shade, you’ll learn all the tips and tricks needed to make your red lips a standout feature. So, whether you’re getting ready for a glamorous event or simply want to add a pop of color to your everyday look, follow these steps to rock the red lipstick like a pro.
Step 1: Prepping the Lips
Before you dive into applying your red lipstick, it’s crucial to prepare your lips properly. Start by exfoliating your lips to remove any dead skin cells. This can be done using a gentle lip scrub or a homemade mixture of sugar and honey. Gently massage the scrub in circular motions and rinse off with warm water. Exfoliation ensures a smooth canvas, allowing the lipstick to adhere better and last longer.
After exfoliation, hydrate your lips by applying a nourishing lip balm. This step is essential to prevent your lips from drying out, which can lead to the lipstick settling into fine lines or flaking. Give the balm a few minutes to absorb fully before proceeding to the next step. If you have oily skin around your lips, you may want to lightly blot the area with a tissue to ensure the lipstick doesn’t slip later on.
Step 2: Line the Lips
Once your lips are prepped, the next step is to outline them with a lip liner that matches your natural lip color or the color of your lipstick. Starting at the cupid’s bow, carefully follow the natural line of your lips. For more definition, you can slightly overdraw the liner, but be cautious to prevent an unnatural appearance.
Lip liners serve multiple purposes. They not only add definition and shape to your lips but also act as a barrier to prevent the lipstick from feathering or bleeding. Additionally, filling in your lips with the liner can help the lipstick last longer. If you’re aiming for a more matte finish, this step can be particularly useful in achieving that effect while adding subtle definition.
Step 3: Apply Lipstick with Precision
Now comes the fun part—applying the red lipstick. Use a lip brush for greater accuracy and control, especially if you’re working with a bold color, as it allows for detailed application. Starting from the center of your lips, work your way outwards, ensuring that you cover every part evenly. A lip brush allows the color to be built up gradually and helps to reach the corners without going over the lines.
If you prefer to apply the lipstick directly from the bullet, that’s perfectly fine too. Just be sure to use steady hands and layer the product until you reach the desired intensity. Regardless of your method, take your time to ensure the application is perfect, since red lipstick is notorious for highlighting mistakes. Clean up any edges with a small, pointed cotton swab dipped in concealer to achieve a sharp, crisp line.
Step 4: Apply Lipstick & Blot
After applying your lipstick, take a tissue and blot your lips gently. Blotting helps to remove any excess product and sets your lipstick, which is critical for ensuring it lasts longer. For added staying power, you can also apply a second layer of lipstick after blotting and repeat the blotting process.
Blotting is especially important when working with red lipstick as it helps to even out the color and prevents the dreaded lipstick-on-teeth scenario. If you want to add a touch of shine or are aiming for a glossy look, apply a thin layer of clear lip gloss after blotting. This gives your lips a lush appearance while still maintaining the vibrant red base.
Step 5: What Colors Am I Using?
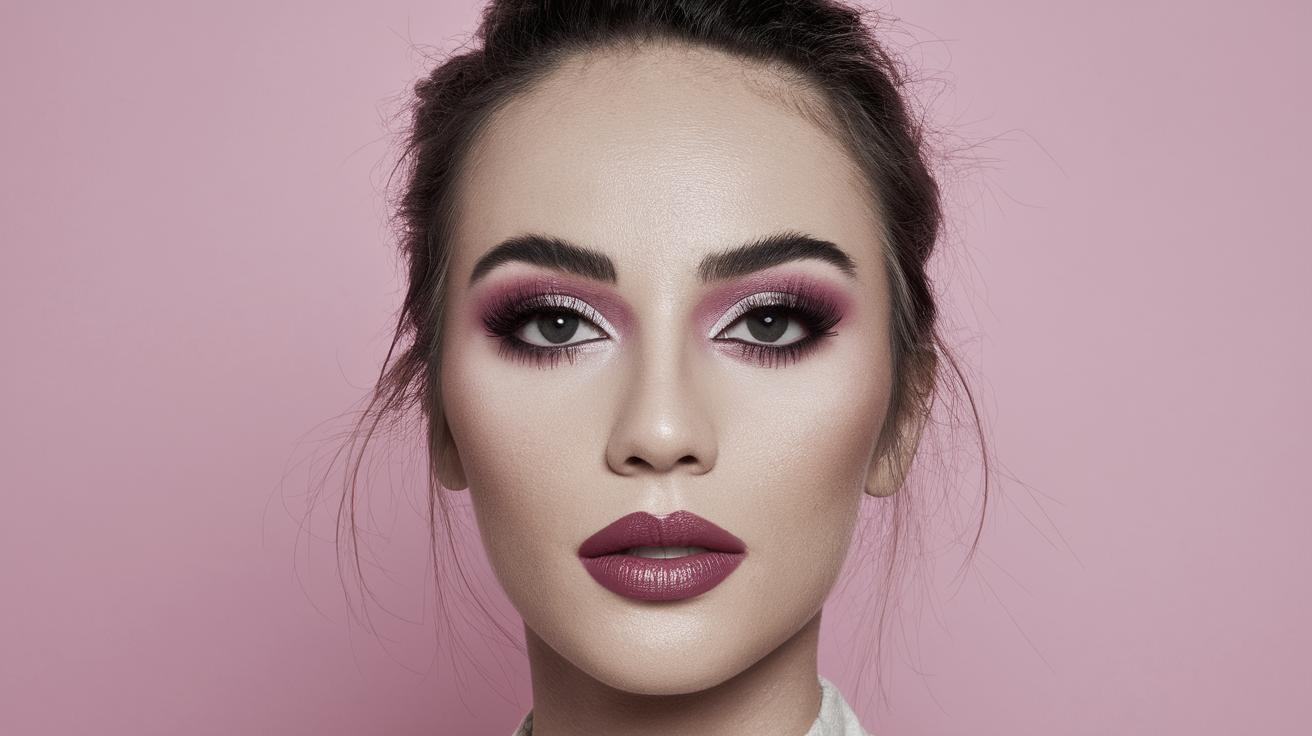
Selecting the right shade of red is essential because not all reds are created equal. Consider your skin’s undertones when choosing a red. Cool-toned individuals may opt for blue-based reds, while those with warm undertones might prefer orange-based reds. Neutral skin tones generally have the most flexibility and can experiment with a wide range of red shades.
Testing the shade in natural light will help you get a better understanding of how it complements your skin. If you’re unsure, don’t hesitate to consult a cosmetics expert. They can provide insights based on their experience and your specific requirements, guiding you towards colors that enhance your natural beauty.
Lessons Learned: Mastering the Red Lip
| Steps | Description |
|---|---|
| Step 1: Prepping the Lips | Exfoliate and moisturize your lips to create a smooth base for the lipstick. |
| Step 2: Line the Lips | Use a lip liner to define the lips and prevent feathering. |
| Step 3: Apply Lipstick with Precision | Apply lipstick carefully, using a lip brush for better control. |
| Step 4: Apply Lipstick & Blot | Blot and reapply to set the lipstick and ensure longevity. |
| Step 5: What Colors Am I Using? | Choose the right red shade based on your skin undertones. |