How to Apply Bronzer for a Sun-Kissed Glow
Achieving that effortlessly radiant, sun-kissed glow can seem like a daunting task, especially if you’re not particularly versed in the art of bronzing. However, with a little knowledge about your skin tone and type, a basic understanding of application techniques, and some handy tips about product types, anyone can master the bronzer game. In this article, we will explore factors such as identifying your skin tone and type, knowing the right spots to apply bronzer, and ensuring that your final look stays perfect throughout the day. We’ll also delve into the nuances of using different bronzer formats like powder, cream, gel, and liquid, and how to ensure that the perfect glow extends beyond your face. By keeping these points in mind, your makeup routine will become not just about applying bronzer, but about embracing a radiant and confident version of yourself.
Consider Your Skin Tone
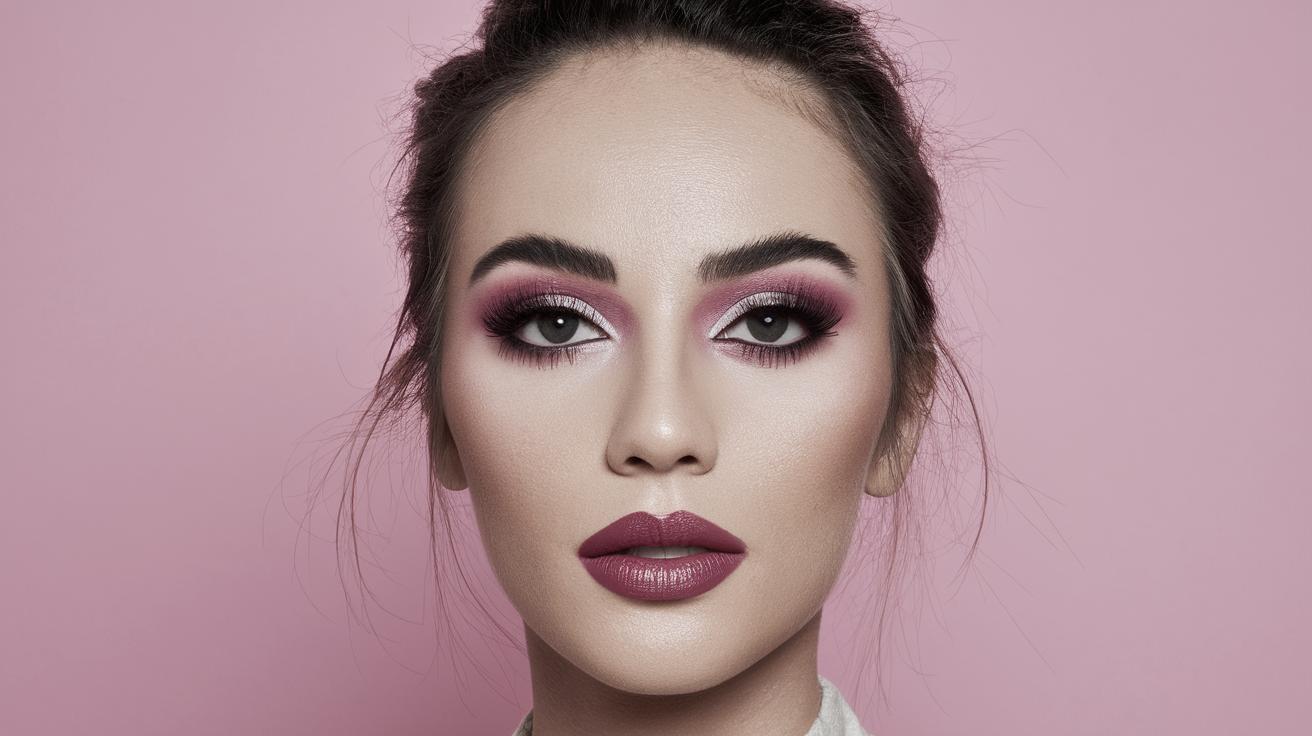
The first step in applying bronzer effectively is understanding your skin tone. This is crucial because the wrong bronzer shade can look unnatural and can stand out in unflattering ways. For those with fair skin, opt for a bronzer that is only a shade or two darker than your natural skin tone, leaning towards peach or soft pink undertones. If your skin is medium-toned, bronze gold with warm undertones can enhance your natural glow. Darker skin tones generally benefit from deep copper or rich terracotta shades, adding warmth without looking ashy.
Matching your bronzer with your skin tone creates harmony across your complexion and keeps the look cohesive. Always test the bronzer in natural light to ensure it complements your undertones; indoor lighting can sometimes shift the color perception. Sample on your jawline or wrist to find the perfect match. This step is critical because a mismatched bronzer can offset the rest of your makeup, diverting attention away from your natural beauty.
Consider Your Skin Type
Your skin type plays an essential role in how well the bronzer sits on your face and its longevity. For those with oily skin, powder bronzers may be the best bet because they absorb excess oil and help minimize shine throughout the day. Most powder bronzers provide a matte finish, which is ideal for oily skin types prone to breakouts, as opposed to products that may contribute to a slick and shiny appearance.
Those with dry skin might find cream or gel bronzers to be more suitable, as they can hydrate while adding color. These products usually have a dewy finish, which can add a youthful glow to dull or tired-looking skin. Combination skin types can experiment with different formulations, often layering or mixing products to find the perfect fit for all areas of the face.
Know Where You Want to Apply
Bronzer is designed to mimic sun exposure, so it’s important to apply it where the sun would naturally hit your face: the top of the forehead, cheekbones, and the bridge of the nose. These regions tend to tan the most and catch the light, enhancing your bone structure in the process. Focus on forming a soft ‘3’ shape on either side of the face—starting from the forehead, sweeping along the cheekbones, then down the jawline.
This strategic placement enhances your natural features by highlighting the high points of your face. It’s about subtlety and blending to avoid visible lines or harsh demarcation, resulting in a look that is both elegant and seamless.
Make it Your Last Step
To ensure that your bronzer does not get lost under other layers of makeup or become patchy, make it the final step of your makeup application. This approach ensures that your bronzer will add a finishing touch to your look, enhancing rather than overpowering your makeup routine.
By setting your foundation and concealer first, you provide a smooth canvas for the bronzer to sit on. Applying it last, after eyes and lips, gives you a clear view of how much color balance is needed to ensure the right amount of warmth is added to your complexion.
Let it Set
Once applied, let the bronzer set for a few moments to ensure it melds beautifully with your skin. This is particularly important for powder bronzers as it allows them to absorb into the skin, reducing any initial powdery finish. Setting also helps in avoiding accidental removal or smearing from subsequent touch-ups or movements.
To help your bronzer stay put throughout the day, consider using a setting spray or a light dusting of translucent powder. Not only does this enhance its longevity, but it also helps maintain that natural, sun-kissed look longer.
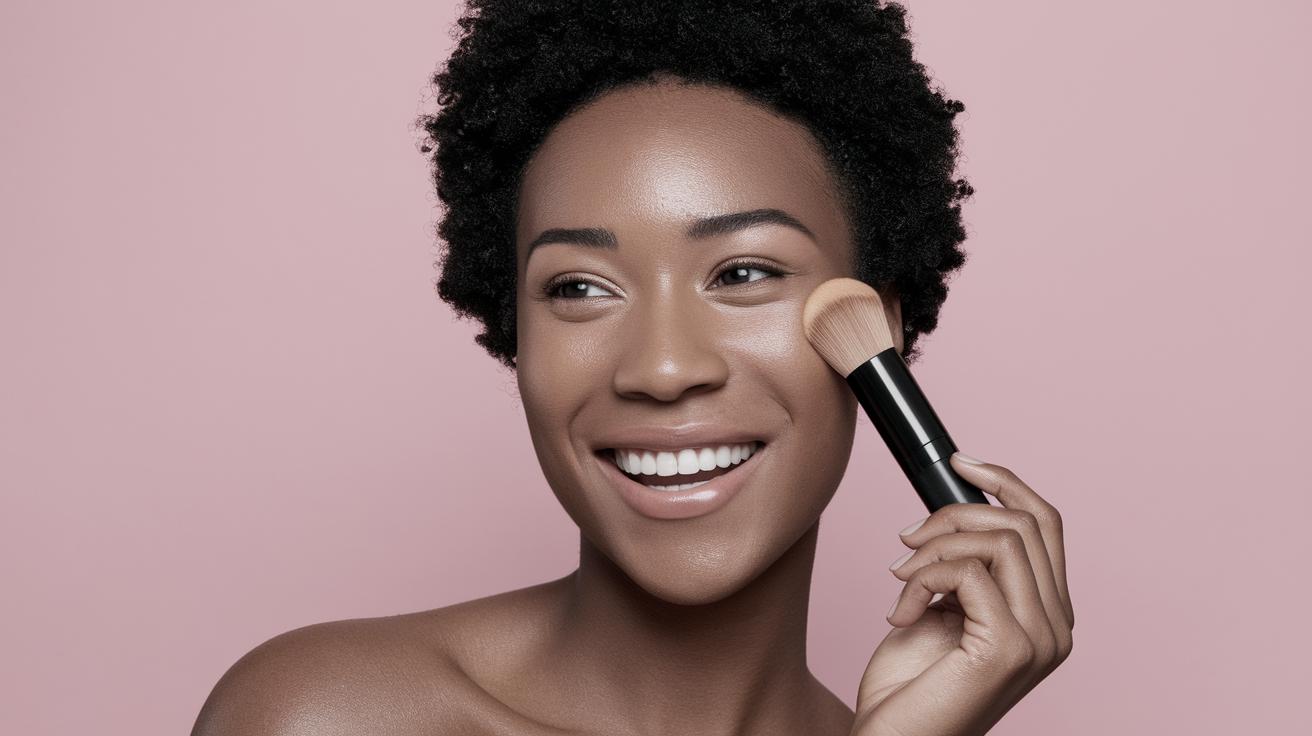
Perfect Your Technique: Powder
Powder bronzers are a staple in any makeup kit because they’re versatile and work well for most skin types. Use a fluffy, large brush for a more diffused and natural finish. Begin with a light hand to build up color gradually—it’s easier to add more than to take away excess.
Tap off any excess product from your brush before applying to prevent initial heavy application. Blend in circular motions to ensure there are no streaks or harsh lines, especially around the edges of your face. Concentrate on layering and blending, which is the key to a natural and radiant glow.
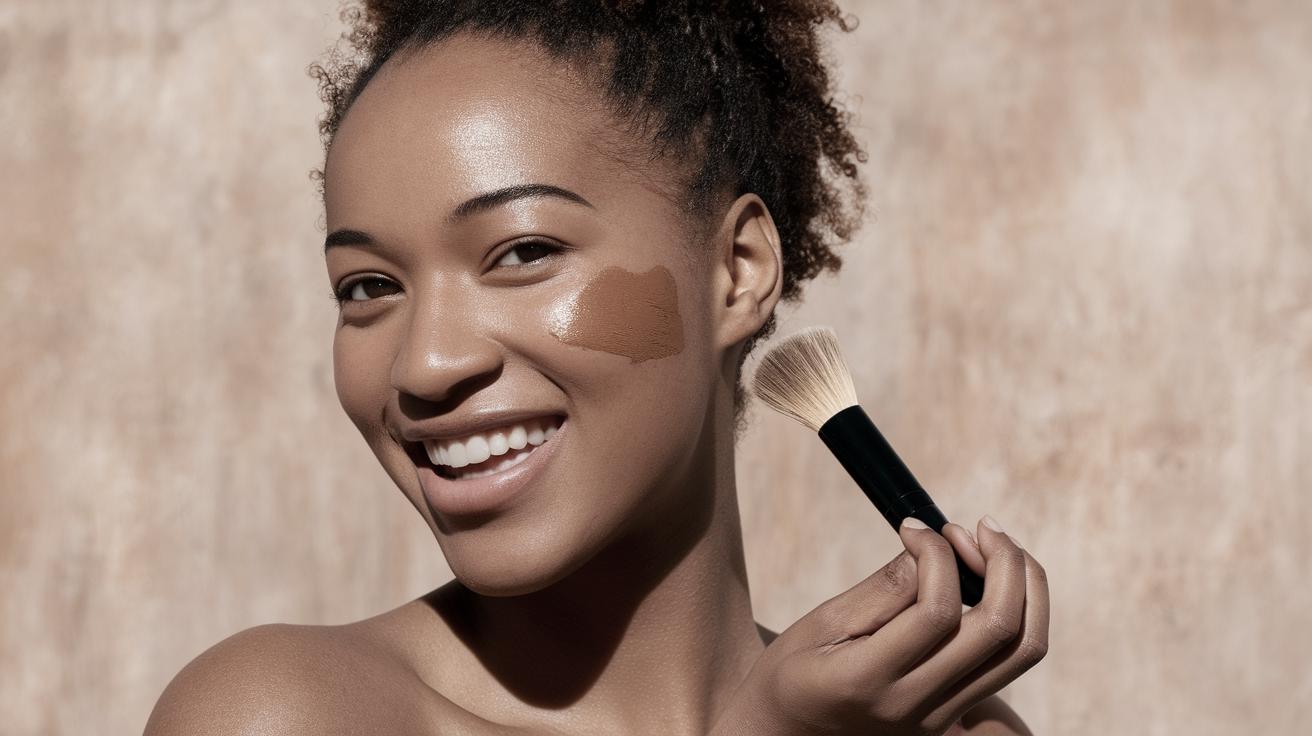
Perfect Your Technique: Cream or Gel
Cream and gel bronzers offer a dewy finish that looks natural and luminous, making them a popular choice for those with dry skin. These are typically applied using fingers or a dense stippling brush, as the heat from your skin will help to blend the product seamlessly.
Start with a small amount, warming it between your fingers if needed, then dab onto the skin. Blend by using circular motions and sculpt by focusing on the cheekbones and forehead. Cream and gel formulas are particularly buildable, allowing for gradual intensification of the sun-kissed look without overpowering your natural complexion.
Perfect Your Technique: Liquid
Liquid bronzers provide a fresh, glowing finish and can be mixed into foundations or moisturizers for a subtler approach. Apply using either a brush or a damp makeup sponge to evenly distribute the product on cheekbones, nose, and forehead.
For a more intense look, apply directly onto the skin and blend quickly, as liquid formulas often set faster than creams. Ensure seamless integration into your skin by buffing out edges to eliminate streaks. Liquids can offer a sheer finish or build for a more dramatic effect, perfect for achieving that photo-ready glow.
Consider Moving Beyond the Face and Neck
Bronzer application isn’t restricted to just your face; extending it down the neck, onto the collarbones, and even across the shoulders can unify your entire look. This is especially important if you’re wearing clothing that exposes more skin, as consistency in color helps maintain a natural appearance.
Using a larger fluffy brush for these areas will ensure even distribution and a soft focus effect. You can also use shimmer-infused bronzers on body topicals for that extra radiance, perfect for special occasions or summer outings.
Summary of Main Points
| Aspect | Details |
|---|---|
| Consider Your Skin Tone | Choose bronzer shades that complement your natural tones, testing in natural light. |
| Consider Your Skin Type | Select powder for oily skin, and cream or gel for dry skin to ensure longevity and glow. |
| Know Where You Want to Apply | Focus on natural sun exposure areas: forehead, cheekbones, and bridge of the nose. |
| Make it Your Last Step | Apply bronzer as the final step to enhance the makeup and balance skin tone. |
| Let it Set | Allow bronzer to set for a long-lasting effect; use setting sprays or translucent powders. |
| Powder Technique | Use a fluffy brush and blend in circular motions for a natural finish. |
| Cream/Gel Technique | Apply with fingers or stippling brush, using thermal blending for a dewy look. |
| Liquid Technique | Use face brushes or sponges for even distribution; combine with foundation for a subtle effect. |
| Beyond Face and Neck | Extend bronzer to neck and exposed body areas for a cohesive look. |