Mastering the Art of Blending Contour Makeup
In the world of makeup, blending is an essential skill that can elevate your look to a new level of sophistication and polish. Whether you’re aiming for a subtle enhancement or a dramatic transformation, mastering the art of blending ensures that your makeup appears seamless and natural. This blog post will delve into the intricacies of blending various types of makeup, including eyeshadow, foundation, bronzer, blush, and highlighter. With detailed techniques and tips for each, along with insights into essential blending tools and methods, you’ll be well-equipped to refine your contour makeup skills. Let’s explore the magic of blending and achieve a flawless finish!
How Do You Blend Makeup
Blending makeup involves the seamless merging of cosmetic products on the skin to achieve a natural, cohesive look. The process requires a combination of technique, the right tools, and an understanding of how different products interact with one another. Beginners and professionals alike often face challenges when learning to blend, but with patience and practice, anyone can master this vital makeup skill.
To start blending effectively, it’s crucial to use products that complement your skin tone and work well together. Using concealers, foundations, and powders from similar shade ranges helps create a unified base. Additionally, understanding the textures of these products and how they interact can prevent issues like caking or patchiness.
How to Blend Eyeshadow
Blending eyeshadow is a transformative technique that can significantly impact the expression and dimension of your eyes. To begin, use a good quality eyeshadow primer to create a smooth base that facilitates easy blending and enhances color payoff. Start with a neutral transition shade in your crease area, applying it with a fluffy brush in windshield-wiper motions for an even blend.
Next, layer your chosen colors gradually, starting with the lightest shade and progressing to deeper tones. Blending each layer with a clean brush ensures a seamless gradient effect. Remember, the key to perfect eyeshadow blending is to be patient and use soft, circular strokes to diffuse the pigments evenly.
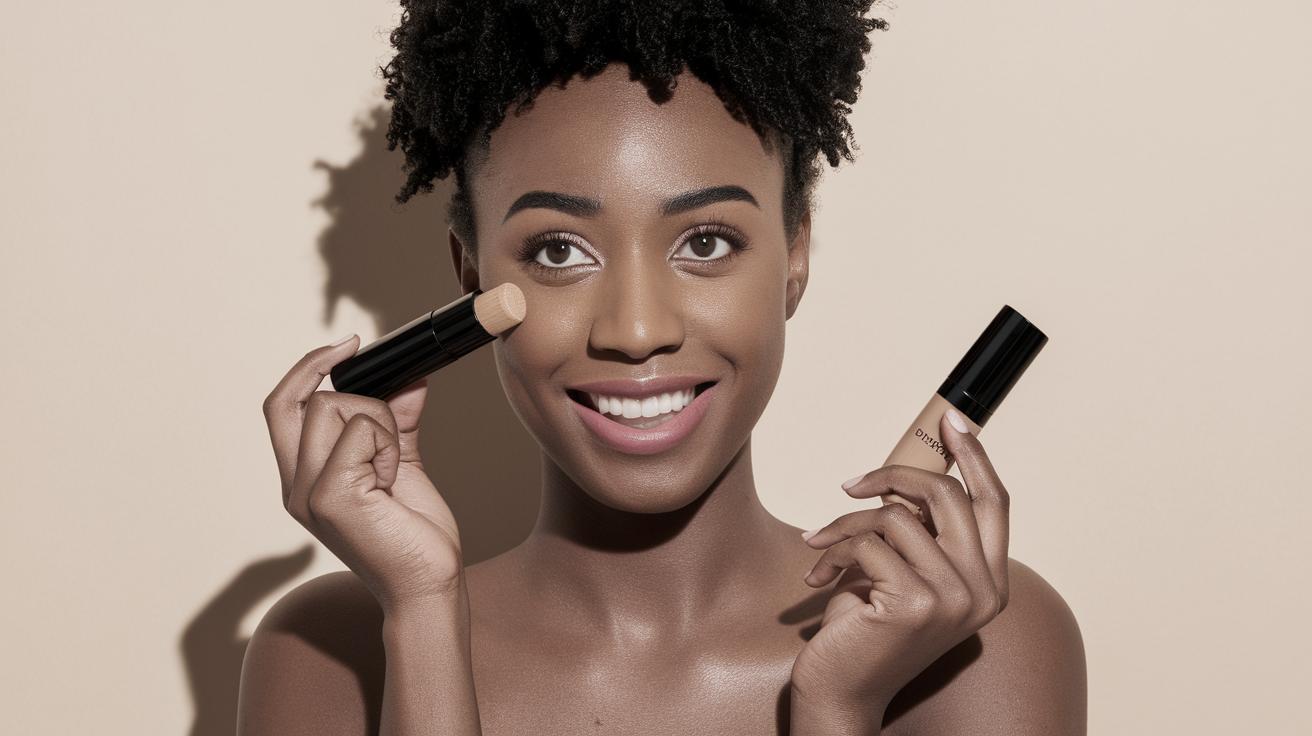
How to Blend Foundation
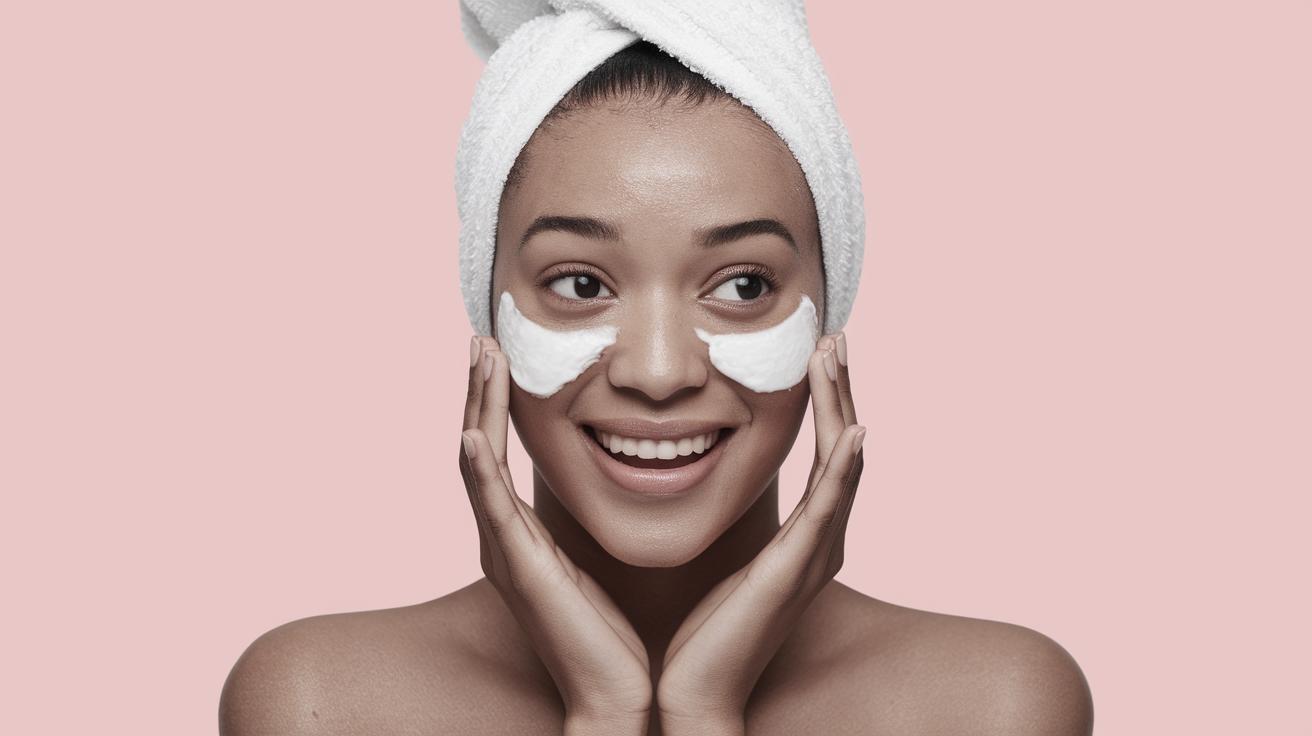
For flawless skin, blending foundation is paramount. Begin by preparing your skin with moisturizer and primer, ensuring a smooth canvas for application. Select a foundation that matches your skin tone and type for the best results. Using a foundation brush or a makeup sponge, apply the product starting from the center of your face and blend outward to avoid harsh lines.
Blend in circular motions or light patting to ensure even distribution. Pay attention to common blending trouble spots such as along the jawline and around the nose. Additional blending with a damp makeup sponge can also yield a more natural look by absorbing any excess product and smoothing out the application.
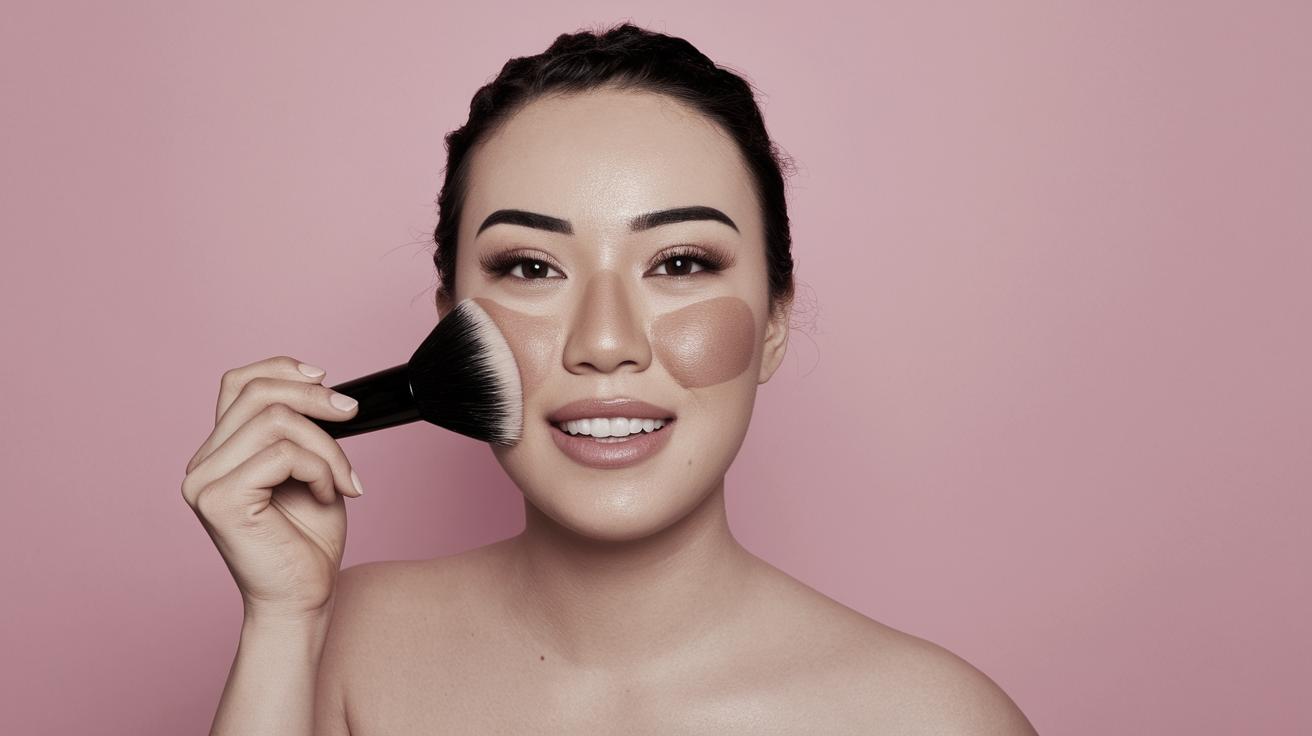
How to Blend Bronzer
Bronzer adds warmth and depth to your complexion, but improper blending can lead to unflattering streaks. Choose a bronzer that’s one or two shades darker than your natural skin tone. Apply it with a large fluffy brush along your cheekbones, temples, and jawline—areas where the sun naturally hits your face.
Use a combination of circular and sweeping motions to ensure the bronzer is seamlessly blended into your skin. It’s crucial to build the color gradually, starting with a light hand and adding more as needed. Blending bronzer effortlessly ties together your entire makeup look, giving it a sun-kissed finish.
How to Blend Blush
Blush offers a pop of color that can make your complexion appear more vibrant and youthful. To blend blush, pick a shade that complements your natural skin tone. Use a blush brush to lightly swirl the product onto the apples of your cheeks, following the natural contour of your cheekbones.
Blend the edges with the same brush or a clean one in circular motions for a soft, diffused look. Ensure there are no harsh lines by gently blending the edges into your bronzer and foundation. The goal is a natural flush that appears as if it’s emanating from within your skin.
How to Blend Highlighter
Highlighter enhances the features you want to stand out with a luminous glow. Apply it to the high points of your face, such as the tops of the cheekbones, the bridge of the nose, and the cupid’s bow. Use a fan brush or your fingers for precision and control.
Blend the highlighter with a brush or sponge to soften the edges and ensure it melds with your skin. For an airbrushed effect, lightly dust over with a blending brush. Properly blended highlighter creates a subtle, radiant effect rather than an artificial shine.
Essential Blending Tools
Having the right tools is as crucial as the technique when it comes to blending makeup. High-quality brushes and sponges can make a significant difference in the outcome of your application. A set of blending brushes with various shapes and sizes will address different areas and needs of your makeup routine.
Makeup sponges, particularly the popular beauty blenders, are excellent for blending liquid or cream products, providing an airbrushed finish. Investing in durable, easy-to-clean tools ensures the longevity and hygiene of your blending routine.
Blending Makeup with Makeup Brushes
Makeup brushes are versatile tools for blending and can be tailored to specific makeup areas. Fluffy brushes are ideal for powder products, providing a diffused application, while denser brushes work well for liquid or cream products, allowing for more control and precision.
When using brushes for blending, always start with a clean brush to prevent color mixing and ensure a smooth blend. Using gentle, sweeping motions minimizes streaking and promotes a seamless finish.
Blending Makeup with Makeup Sponges
Makeup sponges, such as the beauty blender, have gained popularity for their ability to create a smooth, even finish. Their versatility lies in their ability to blend both liquid and cream products effortlessly. For the best results, dampen the sponge before use; this prevents product absorption and aids in even distribution.
Use a dabbing motion to blend, as it helps set the product into the skin without moving it around. Sponges are particularly effective in areas requiring precision, such as under the eyes and around the nose, allowing you to reach every nook and cranny.
How to Blend Contour Makeup
Contour makeup is meant to sculpt and define your facial features, offering a more structured appearance. To blend contour seamlessly, select a shade that is only a couple of shades darker than your natural skin tone. Apply it to the areas you wish to define, such as the hollows of the cheeks, along the jawline, and the sides of the nose.
Using a contour brush or sponge, blend the product using upward strokes to lift the face. It’s critical to blend thoroughly to avoid visible lines and create a more natural transition between your contour and foundation. With practice, this technique can accentuate your features without appearing overly dramatic.
Summary of Main Points
| Makeup Type | Blending Technique | Tools Suggested |
|---|---|---|
| Eyeshadow | Layer colors, use circular strokes | Fluffy eyeshadow brush |
| Foundation | Circular motions, use sponge for finish | Foundation brush, makeup sponge |
| Bronzer | Gradual build-up, circular and sweeping motions | Large fluffy brush |
| Blush | Swirl on apples, circular blend | Blush brush |
| Highlighter | Blend edges for a soft glow | Fan brush, makeup sponge |
| Contour | Upward strokes, thorough blending | Contour brush, makeup sponge |
This blog post details the art of blending various makeup products, offering techniques and tips for eyeshadow, foundation, bronzer, blush, highlighter, and contouring. It also examines essential tools and methods for blending with brushes and sponges, concluding with a summarized table for quick reference.