The Art of Baking in Makeup
Have you heard the term “baking” in makeup but are unsure what it entails? This technique, famous among professional makeup artists and beauty enthusiasts alike, involves applying a thick layer of translucent powder to areas of the face and allowing it to sit for a period of time. This allows body heat to set or “bake” the makeup base, creating a flawless, long-lasting finish. In this guide, we’ll explore each step of the baking process, from priming and prepping your skin to brushing off the excess powder, transforming your beauty routine with added radiance and smoothness.
Prime and Prep
The cornerstone of a successful baking routine begins with a well-prepped canvas. Priming your skin is crucial as it creates a smooth base for makeup application, filling in pores and fine lines to help foundation lay evenly. Choose a primer suited for your skin type—hydrating for dry skin, mattifying for oily skin, or smoothing for combination skin. Application should be done with gentle, upward strokes, focusing on the areas where your makeup tends to move throughout the day.
After primer, applying a lightweight moisturizer can further enhance the smoothness of your skin. Ensure the products have completely absorbed before moving onto foundation, as this will prevent any possibility of caking. The objective is to create an even, moisturized surface that holds the foundation in place whilst preventing dryness or excess oil production, factors that could hinder the baking process.
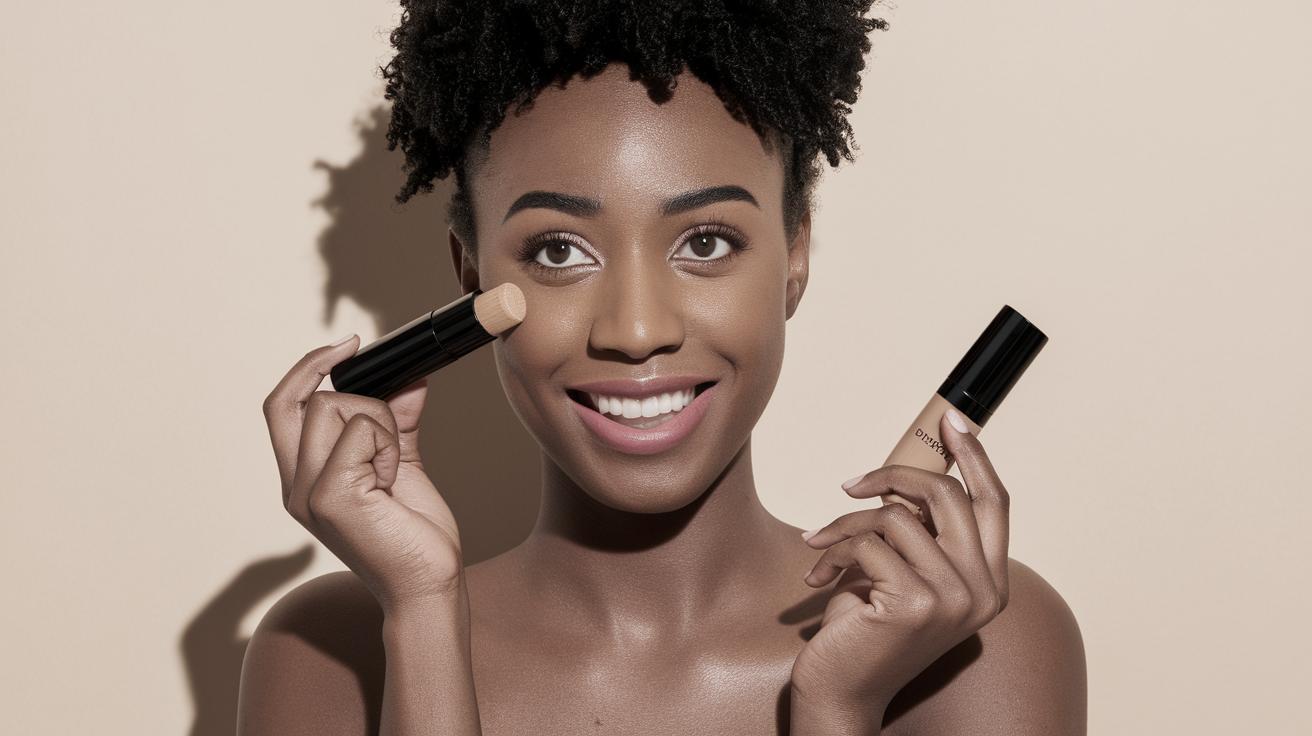
Apply Foundation
Opt for a full-coverage foundation to complement the baking technique, which will act as the initial layer of your makeup. Dot the foundation onto your face using either a brush or damp beauty sponge. Start from the center of your face and blend outwards, ensuring even coverage. Take additional care around the nose, chin, and forehead, areas that often experience movement and can lose coverage quickly.
Allow the foundation to set slightly into your skin before moving onto the concealer application. This settling time helps avoid slippage when additional layers are added. By taking these steps, you’re effectively creating the ideal platform for a flawless appearance, setting the stage for the undereye concealing and baking processes to follow.
Apply Concealer Under Eyes
Choosing a concealer that is one to two shades lighter than your foundation will enhance your features by adding depth and brightness to your under-eye area. Apply the concealer in an inverted triangle shape under each eye, which maximizes coverage and aids in lifting the facial features. Be gentle and mindful when blending out the edges to avoid disrupting the foundation layer beneath.
Your blending technique is crucial here; use a damp beauty sponge or a soft brush and gently press the product into the skin. The goal is to achieve a seamless transition with the foundation. Ensure the concealer remains bright and concentrated under the eyes, as this is where baking will create the most significant highlight, giving you that radiant, wide-awake look.
Get to Baking
Now comes the star of the show: the baking process itself. Begin by dipping a damp beauty sponge into a finely milled translucent powder. You’ll want to focus the majority of this product on the areas where you’ve applied concealer—usually under the eyes, the center of the forehead, the bridge of the nose, and the chin. These areas naturally highlight your face’s structure and benefit most from setting.
Allow the powder to sit, or “bake,” on your skin for about 5 to 10 minutes. During this time, your natural body heat works to set the concealer and foundation, leading to a crease-free, long-lasting finish. Resist the urge to touch or blend the powder immediately, as the setting time is vital to ensure the lasting power of your makeup look.
Brush Off The Excess Powder
Once baking time is up, it’s time to remove the excess powder. Opt for a fluffy brush with soft bristles to gently sweep away the surplus, revealing a smooth, set complexion underneath. Brush in a soft, circular motion to ensure even removal without disturbing the carefully worked base layers beneath.
This step not only unveils your beautifully set makeup but also prevents any unnatural powdery residue remaining on your skin. Make sure to check for any unblended spots, especially under your eyes, as leftover powder can accentuate fine lines instead of minimizing them. The goal is a flawless, airbrushed finish with all traces of powder seamlessly integrated into your makeup look.
You’re Baked, Beautiful
Congratulations, you’ve successfully completed the baking process, a technique known to withstand the rigors of a long day or night. The results—flawless, illuminated skin—are worth the precision and patience of each step. Baking is especially popular for creating a photo-ready finish, ensuring that your makeup looks impeccable in any lighting.
Experimenting with different types of translucent powders and application tools can help you perfect this technique tailored specifically to your skin’s needs. While initially baking may seem daunting, practice hones the skill, turning it into an integral part of your beauty regimen that enhances and prolongs the effectiveness of your makeup.
Next Steps
| Steps | Description |
|---|---|
| Prime and Prep | Create a smooth canvas by using primer and moisturizer. |
| Apply Foundation | Use a full-coverage foundation to establish a base. |
| Apply Concealer Under Eyes | Brighten with a lighter concealer, blended to perfection. |
| Get to Baking | Apply translucent powder and allow it to set. |
| Brush Off The Excess Powder | Remove extra powder for a flawless finish. |
| You’re Baked, Beautiful | Enjoy the long-lasting, radiant results of baked makeup. |